"When even the last hero on earth, he will succumb under a pile of rubble....................
...............................then we will know that the end has arrived....................................
.................................................................and the human race will become extinct!!!!!!!!!"
Also this year I will participate to the
Minimondi's Spring Mini Contest.
Last year, thanks to
Gringotts finished second. Let's see if this year will be better! :)
The model that I have decided to create will represent a glimpse of a city that has been completely destroyed. For those nostalgic of the 80s there will be a surprise as I intend to build a wrecked building covered with rubble next to an icon of cartoons from those years...
The scale I'll use will be 1:48. I will try to be very fast with the construction, so that I can dedicate myself more to the painting and details that make the difference in this type of dioramas!
The first thing to do is to define the maximum dimensions. I will then create the base on which the diorama will be built. This measures 19x19 (the maximum measurements for the contest are 20cm per side, but I prefer to leave a little room for maneuver).
To the base I then add the walls of the palace so as to begin to get an idea of the volumes:

The structure will be built in two different ways: the lower part up to the cornice, will be made of masonry, while the upper floors will be with exposed bricks.
I opted for this solution because I believe that the destroyed and collapsed part makes it more effective when represented in bricks.
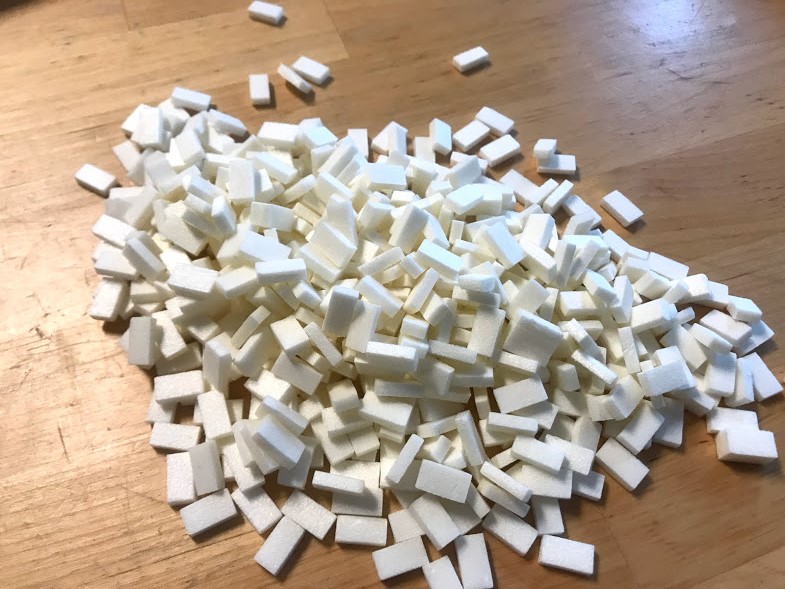
The next step, then, is to carve out a large stock of bricks for myself:
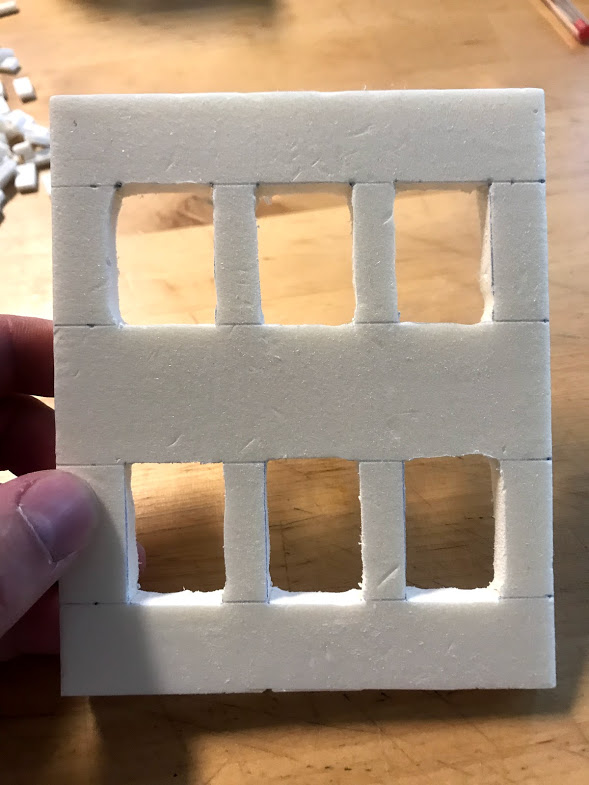
First of all, I will realize the upper plans. I will cut out the main façade:
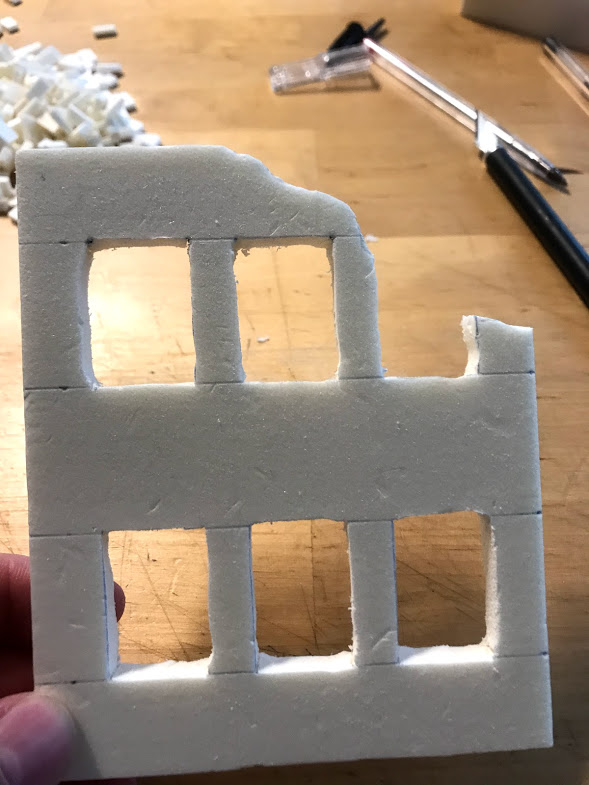
After that I' ll proceed to the
destruction:
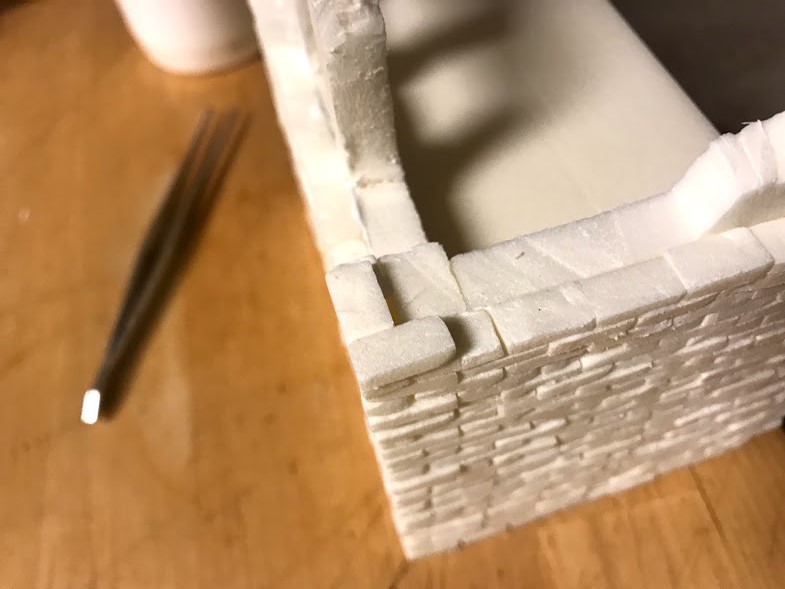
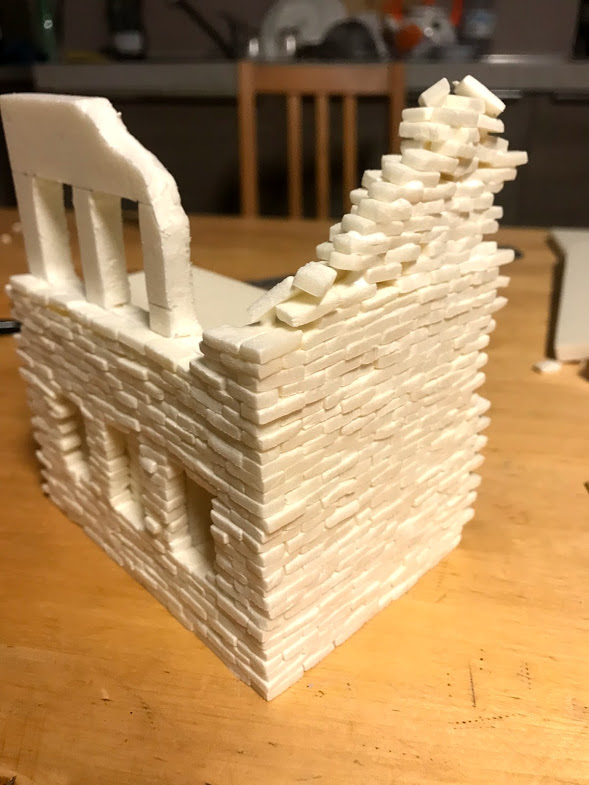
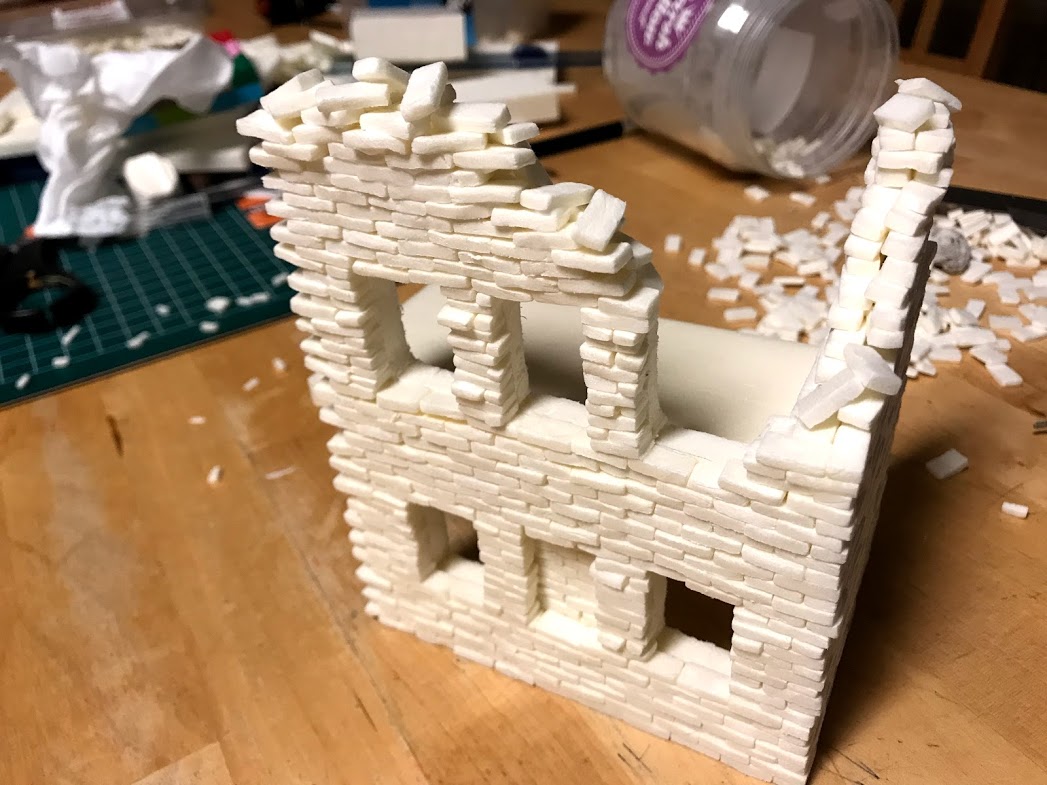
Once the side facade will also be obtained, I'll start laying the bricks:

NOn the inside, I'll insert the floor, which will then be covered with rubble:

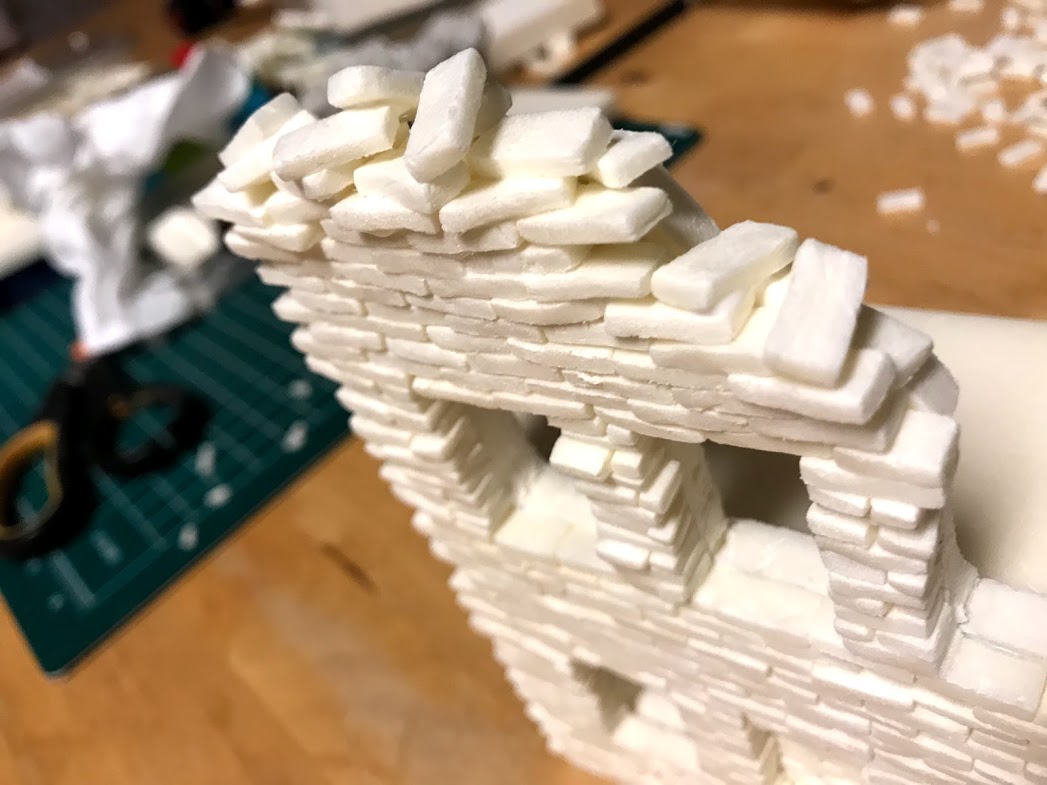
I'll then proceed by laying the bricks until I get to the part of the building where the structure has been destroyed:
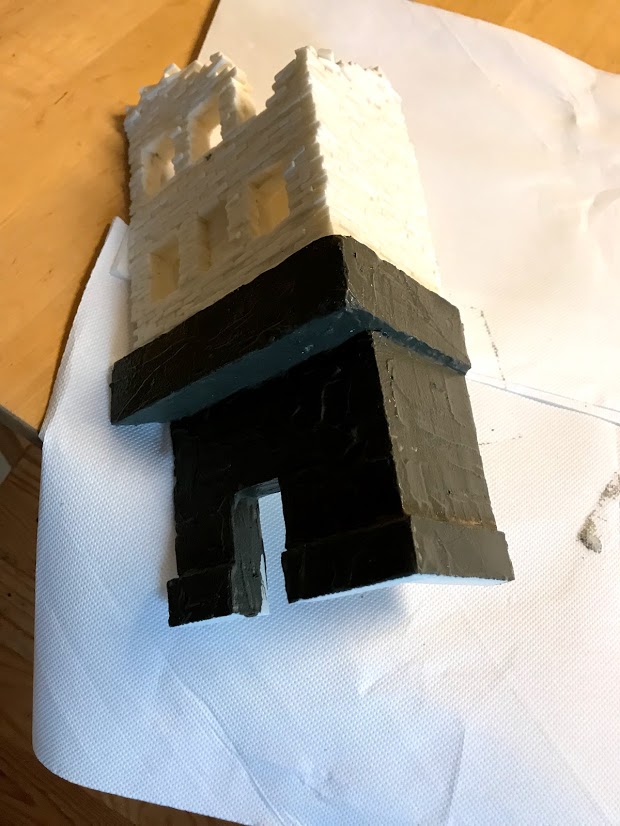
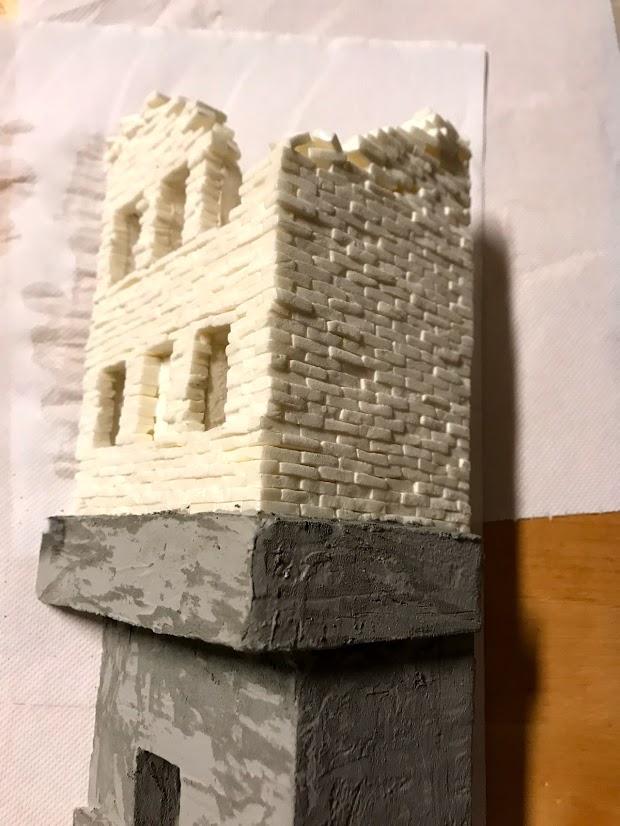
At this point, I' ll cover the upper edges entirely with bricks, placing them as if there had been a collapse. Internally, however, I will then proceed to grout the walls so as not to show the gap between the supporting wall and the briquetting:
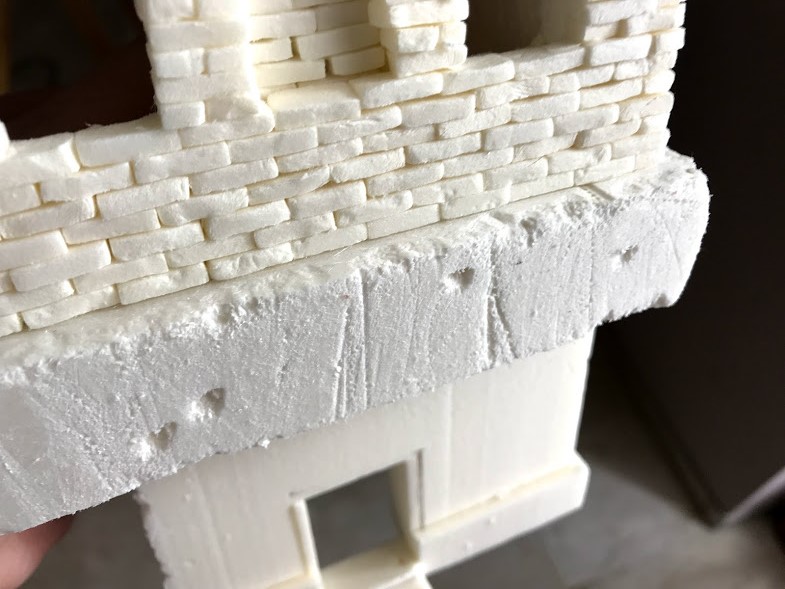
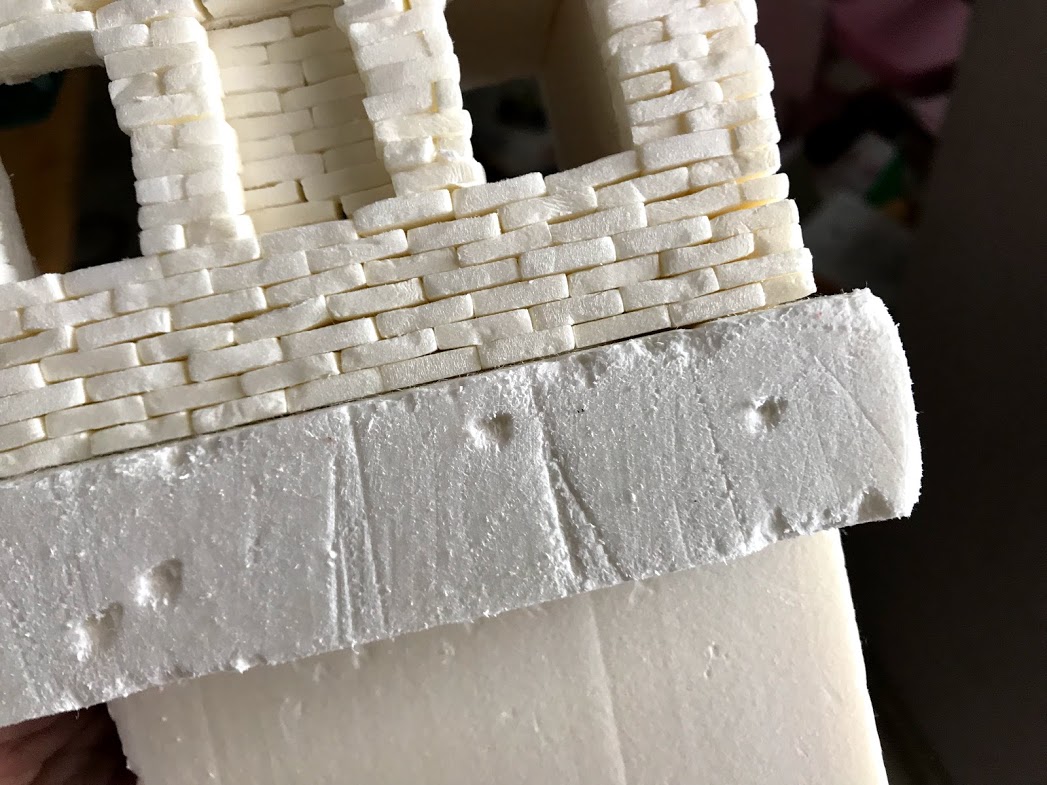
Lower floor
I'll cut out two pieces of polystyrene that will represent the volumes of the lower floor:

I'll create the front door and add the first details:

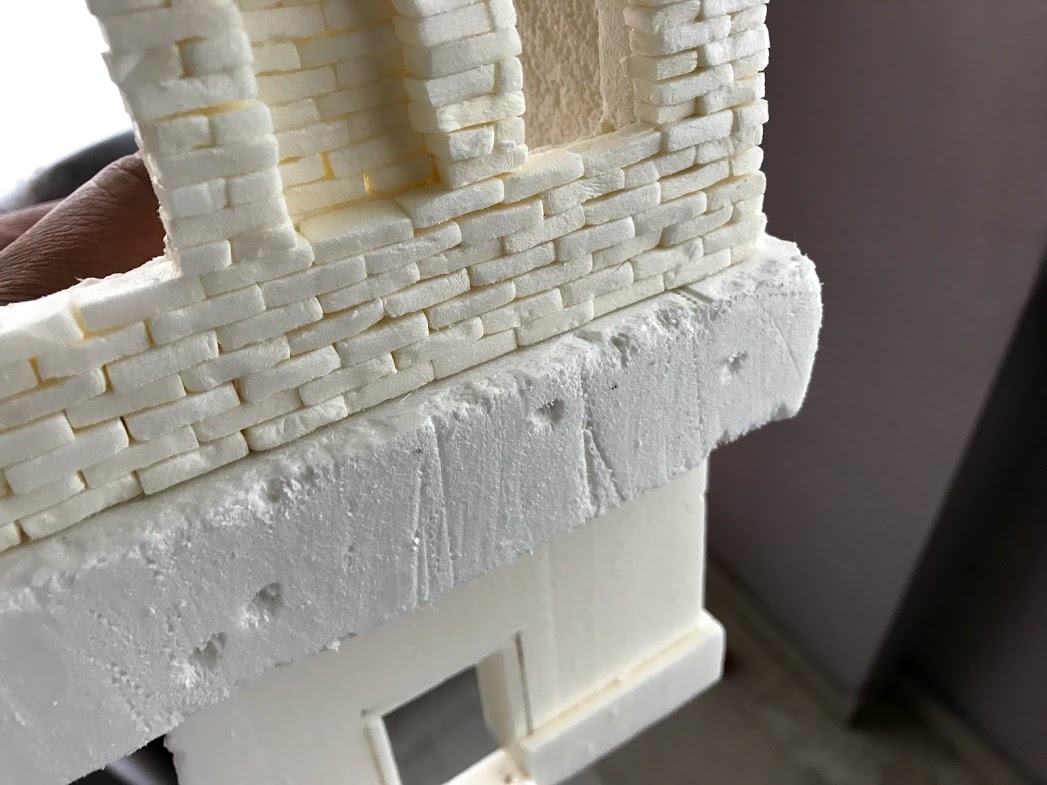
I'll realize the dividing cornice with a piece of polystyrene 4cm thick:

I'll apply a first texture to this. The desired effect is that of a cornice in pieces:
Painting - Base coat
To carry on with the work, before continuing with the sculpture of the protagonist of this diorama, I'll apply the primer and the background colours of the palace.
The lower floor, along with the cornice, is covered with cement:
As it dries, I'll use a spatula to remove impurities and protrusions:

This is how the cement looks when it is dry:

Now I'll give a first coat of vinavil and water. This allows me to create a surface layer that will better accommodate the painting:
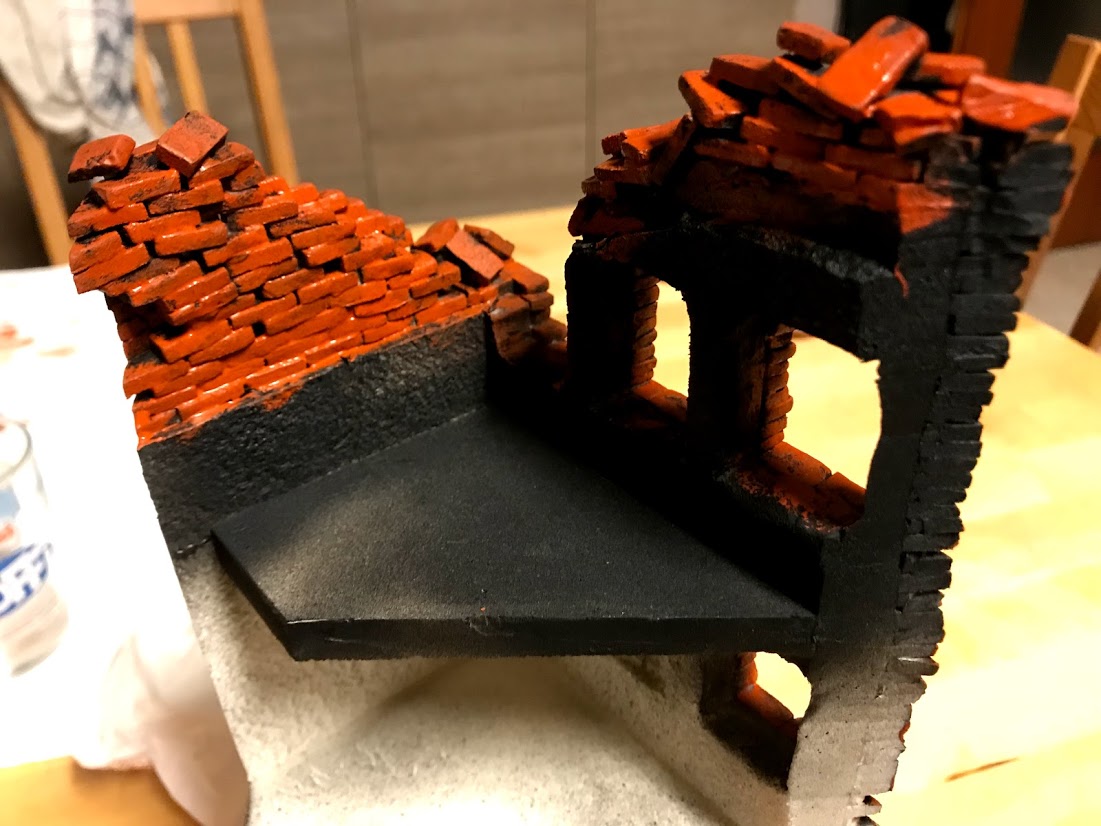
After letting it dry I'll paint it with matt black all over the top:
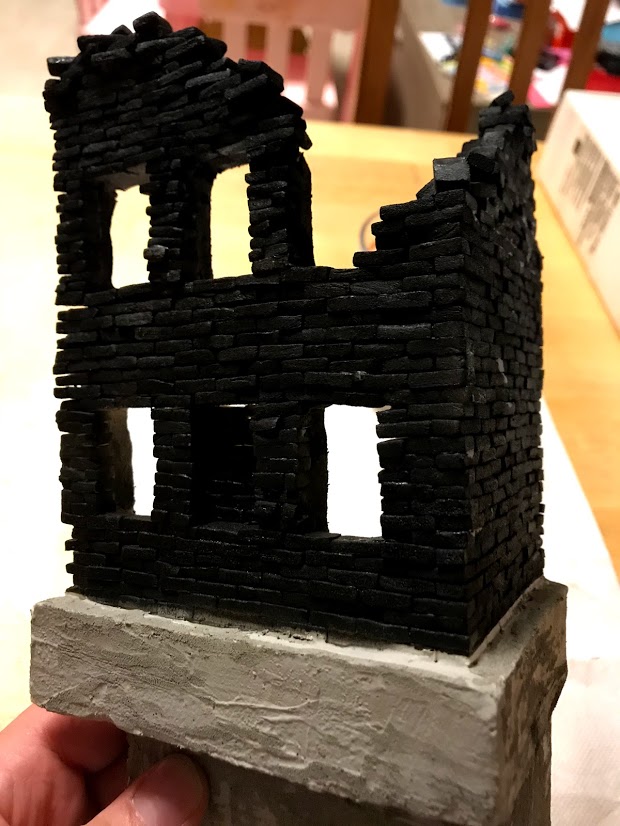
I'll also let this bottom dry.
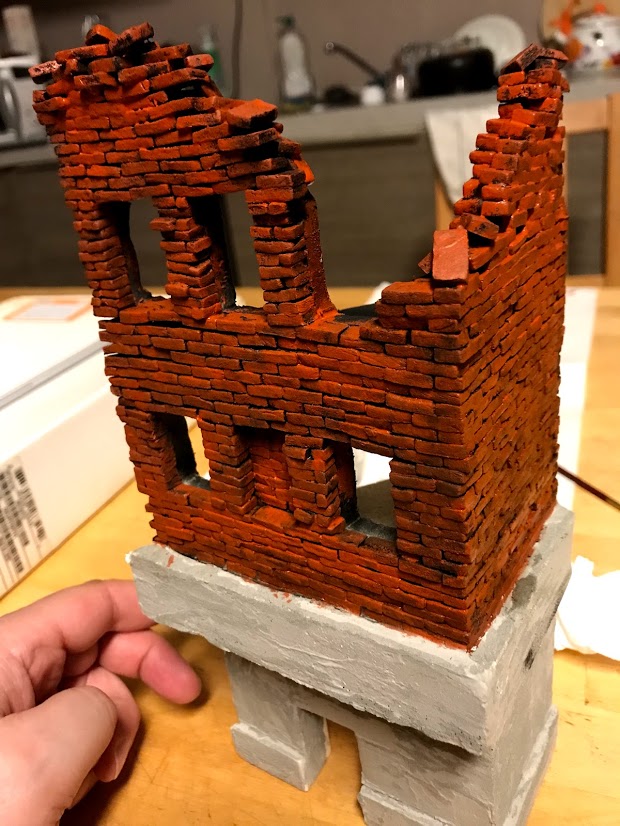
The model is now ready to accept the background color. For the bricks I'll use two colors:
Red Ochre and Sienna, both painted with a wet brush:
That's it for now!


 English version